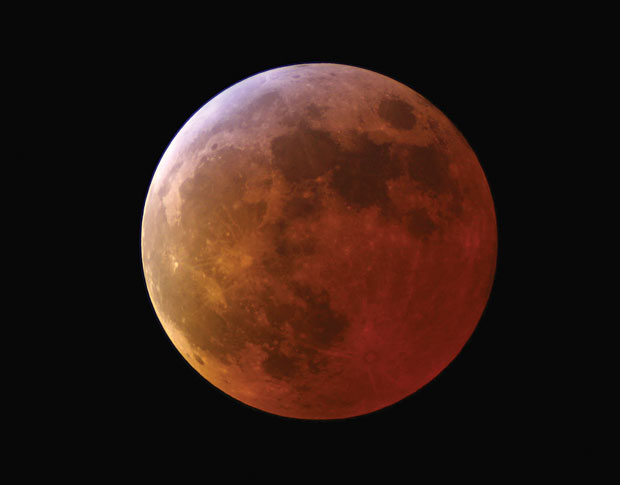
This month’s lunar eclipse is the most favourable from the UK for a long time: not since 21 February 2008 have we had a total eclipse visible for its entire duration at a good altitude in a dark sky. If the weather co-operates, it will be a fine opportunity to get some beautiful images of this uncommon phenomenon.
The good news is that imaging a lunar eclipse is not particularly difficult; you do not require a specialised astronomical camera, or a large telescope (or even a telescope at all), and very long exposures are not needed, minimising tracking problems. Surprisingly, perhaps, the main challenge, which more advanced imagers will attempt to solve, lies not in imaging totality, which can be achieved with one exposure, but in getting pleasing images of the partial phases. These are notoriously difficult because of the great brightness difference between the umbral and penumbral parts of the eclipsed Moon, which is not so striking to the eye, with its non-linear response to light. Images of the partial phases that show any light in the umbra will glaringly over-expose the penumbra. A solution is to employ the techniques of high dynamic range (HDR) photography, and combine different exposures afterwards in Photoshop or similar.
A DSLR is the ideal tool for imaging the eclipse. With a standard lens, however, the image will be too small to show much. A telephoto lens of at least 100mm focal length, and preferably 300mm, will be suitable, with the camera mounted on a tripod. It is impossible to recommend exactly what settings to use, as the darkness (or brightness, if you prefer) of the Earth’s shadow is unpredictable, but I would set the ISO to 800, or maybe higher with a recent camera, and with an focal ratio of 3.5. I would start with an exposure of about 1/15 second, and experiment around that.
Vibration needs to be minimised by using a shutter release cable and enabling mirror lock, if possible, and, as in all astrophotography, focus is critical. Modern Live View cameras make this easier; without, you will need to make tests at slightly different focus points, examining the enlarged image each time. If you have an image-stabilised lens and a modern, fast camera, it is possible you may succeed in getting sharp, detailed images even without a tripod.
A telescope of around one metre focal length (say a 100mm, f/10 refractor) will give a beautiful result coupled to a DSLR camera body, imaging at prime focus, with the Moon filling much of the frame. Exposures of totality using this set-up will be around a second, so a drive will be needed. I’m sure this time around people will get successful results with a technique as simple as holding a phone camera to an eyepiece, but this will be hit-and-miss!
Read Ade Ashford’s full lunar eclipse guide.

Inside the magazine
This article first appeared in the September issue of Astronomy Now, the UK’s biggest astronomy magazine. You can find out more about observing this total lunar eclipse in the September issue in addition to a full guide to the night sky.
Never miss a copy of Astronomy Now by subscribing to the UK’s biggest astronomy magazine. Also available for iPad/iPhone and Android devices.